1. Setting up Kubernetes
Kubernetes is fast becoming, if not already, the OS for building cloud native applications. As someone put it, “the platform for building platforms”. As such people will want to replicate their production during dev. If possible at a lower cost. Imagine every member of the team having a “cluster” to play with.
There are many alternatives like KinD, which I’ll write about in another post, but this post is focused on Docker Edge for Mac. As the name suggests it’s purposely for Macs. In this post we get to install and take it for a spin. We’ll get to deploy a sample application and get to use some simple commands to manage our clusters.
The installation is pretty simple; if you follow the steps here. Now we that we have it installed we’ll need kubectl.
kubectl is the kubernetes cli. It helps us run commands on clusters to manage, monitor and deploy application or resource. You can find some of the cool stuff you can do with it here. If you prefer a web based interface instead for managing your cluster there’s an option as well. The Kubernetes dashboard is purposely for that. We can easily install it with kubectl create -f command. This command expects you pass a yaml file that describes the resources you want to create and deploy. Fortunately there’s a yaml file for that here.
kubectl create -f https://raw.githubusercontent.com/kubernetes/dashboard/v2.0.0-beta1/aio/deploy/recommended.yaml
Now let’s confirm if our dashboard is installed properly and running with this. kubectl get pods --all-namespaces | grep dashboard. This command lists all pods kubectl get pods --all-namespaces by greping the results we can find all pods which are dashboards. What are pods?, what about the --all-namespaces and finally how do we access the dashboard?. I’ll get to that shortly.

We know the dashboard is running but how do we access it?, by running
kubectl proxy
The dashboard should be accessible at http://localhost:8001/api/v1/namespaces/kubernetes-dashboard/services/https:kubernetes-dashboard:/proxy/#/login.
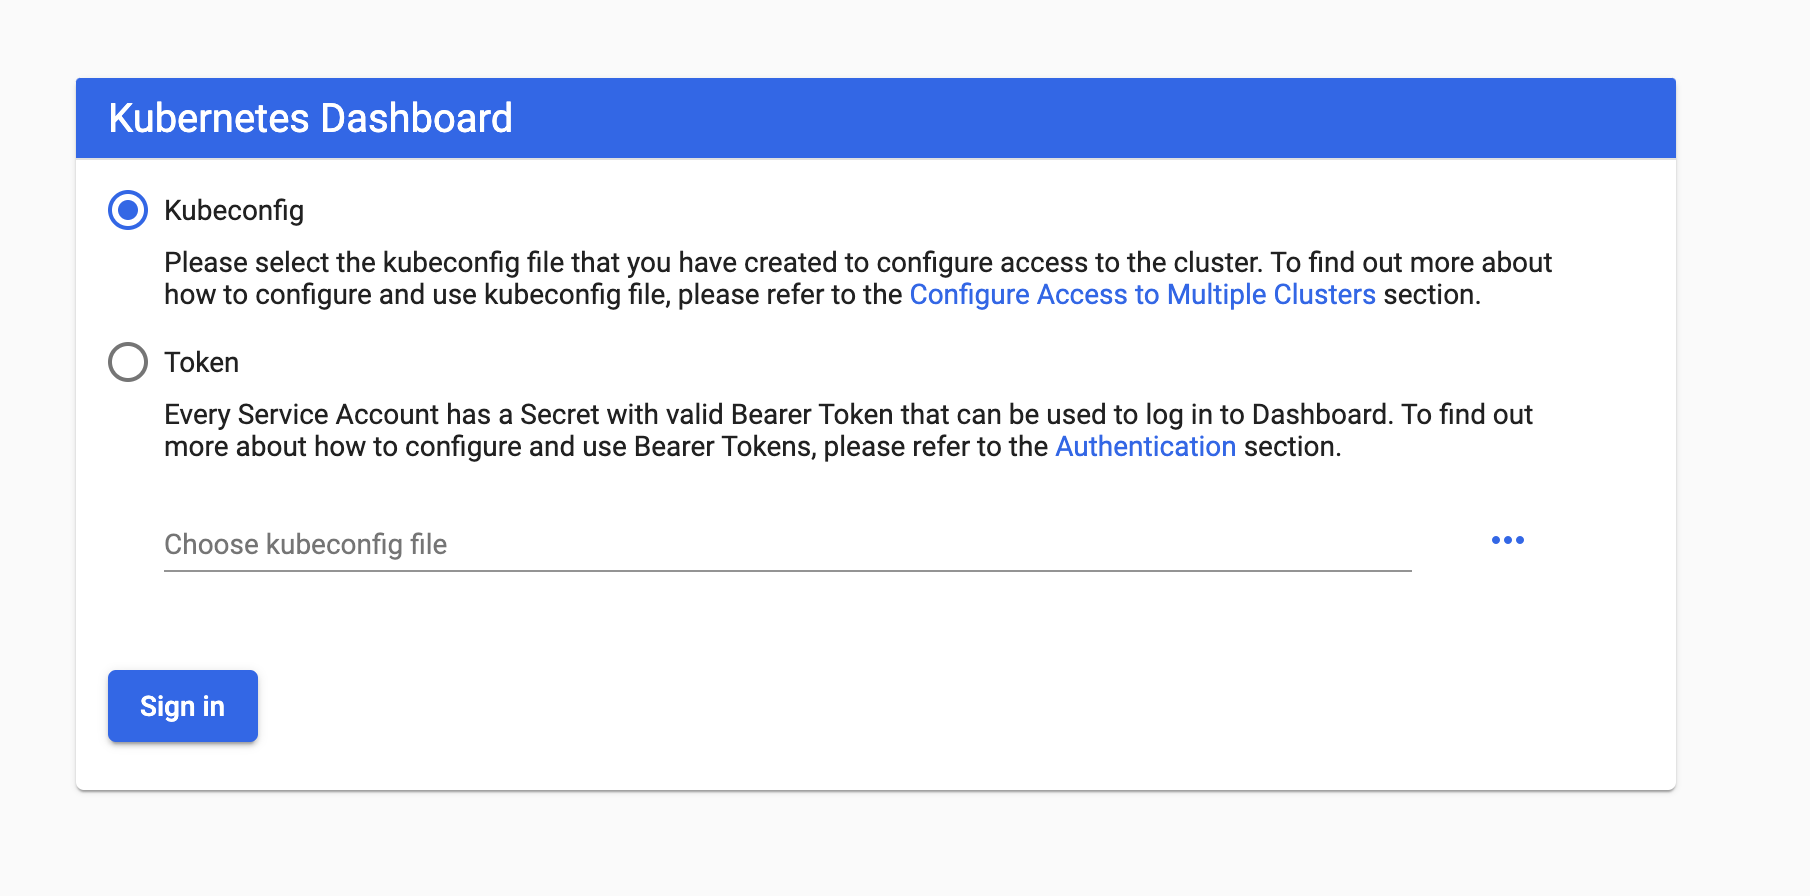
After installation of the dashboard, you’ll have minimal set of privileges. There’s a lot more you can do but since this is an introduction let’s just limit it to how you can log in and access the dashboard.
First option is to use kubectl to get all secrets of available service-accounts with kubectl -n kube-system get secret.We’ll probably get something similar. Now different service accounts have different permissions so we probably want one with full or enough permissions to navigate the dashboard effectively.
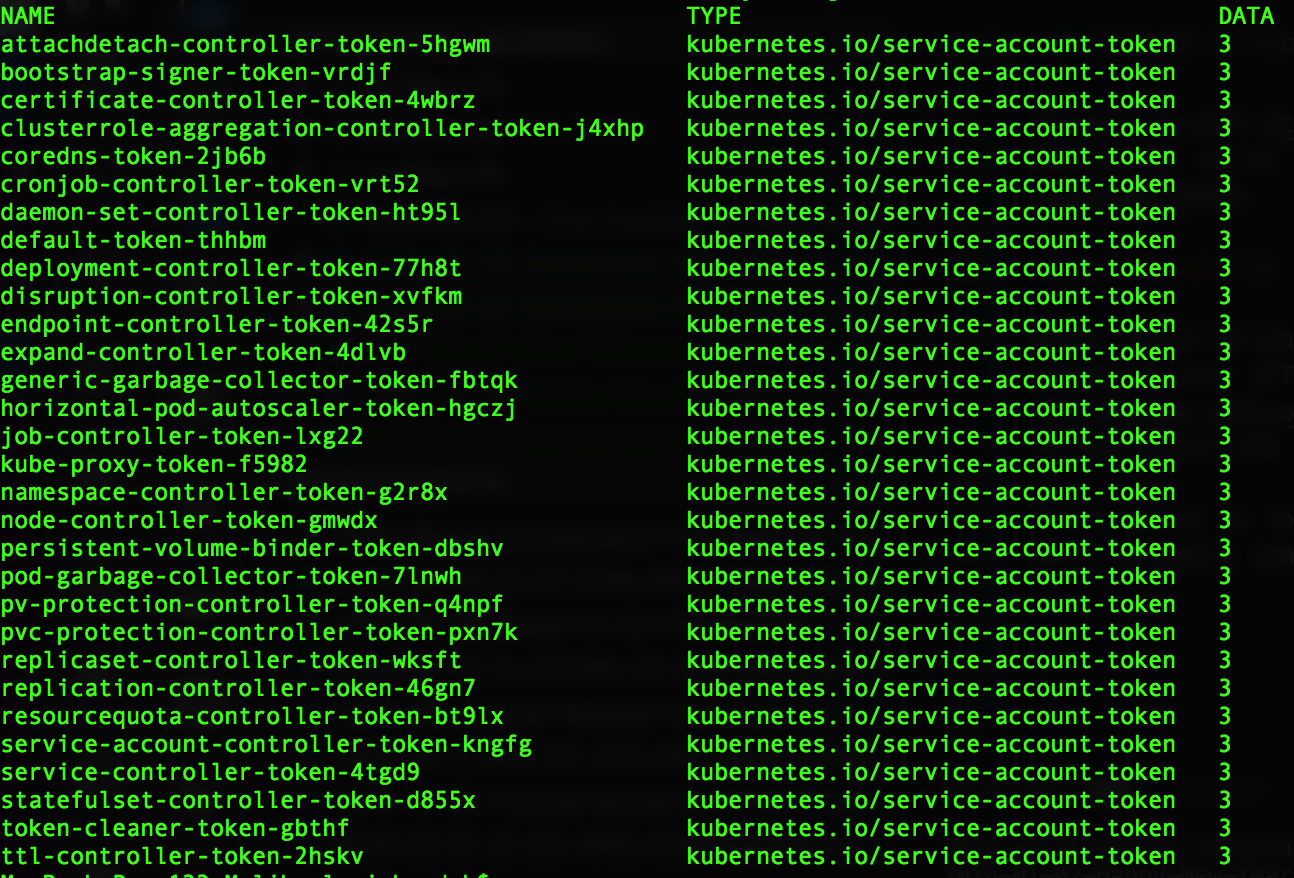
We can get a token with kubectl -n kube-system describe secrets replicaset-controller-token-xxxxx, make sure you get the full name correct for replicaset-controller-token. You can select the token option, paste the token in the text box and log in. For local development this option can get annoying sometimes due to the way the token expires.
Another option is skipping authentication altogether, again stressing that this is only an option because we are setting up to Kubernetes to develop locally. This can be done by just adding ths flag when starting the dashboard --enable-skip-login. Simple as that.
After successful login, you should see something like this.
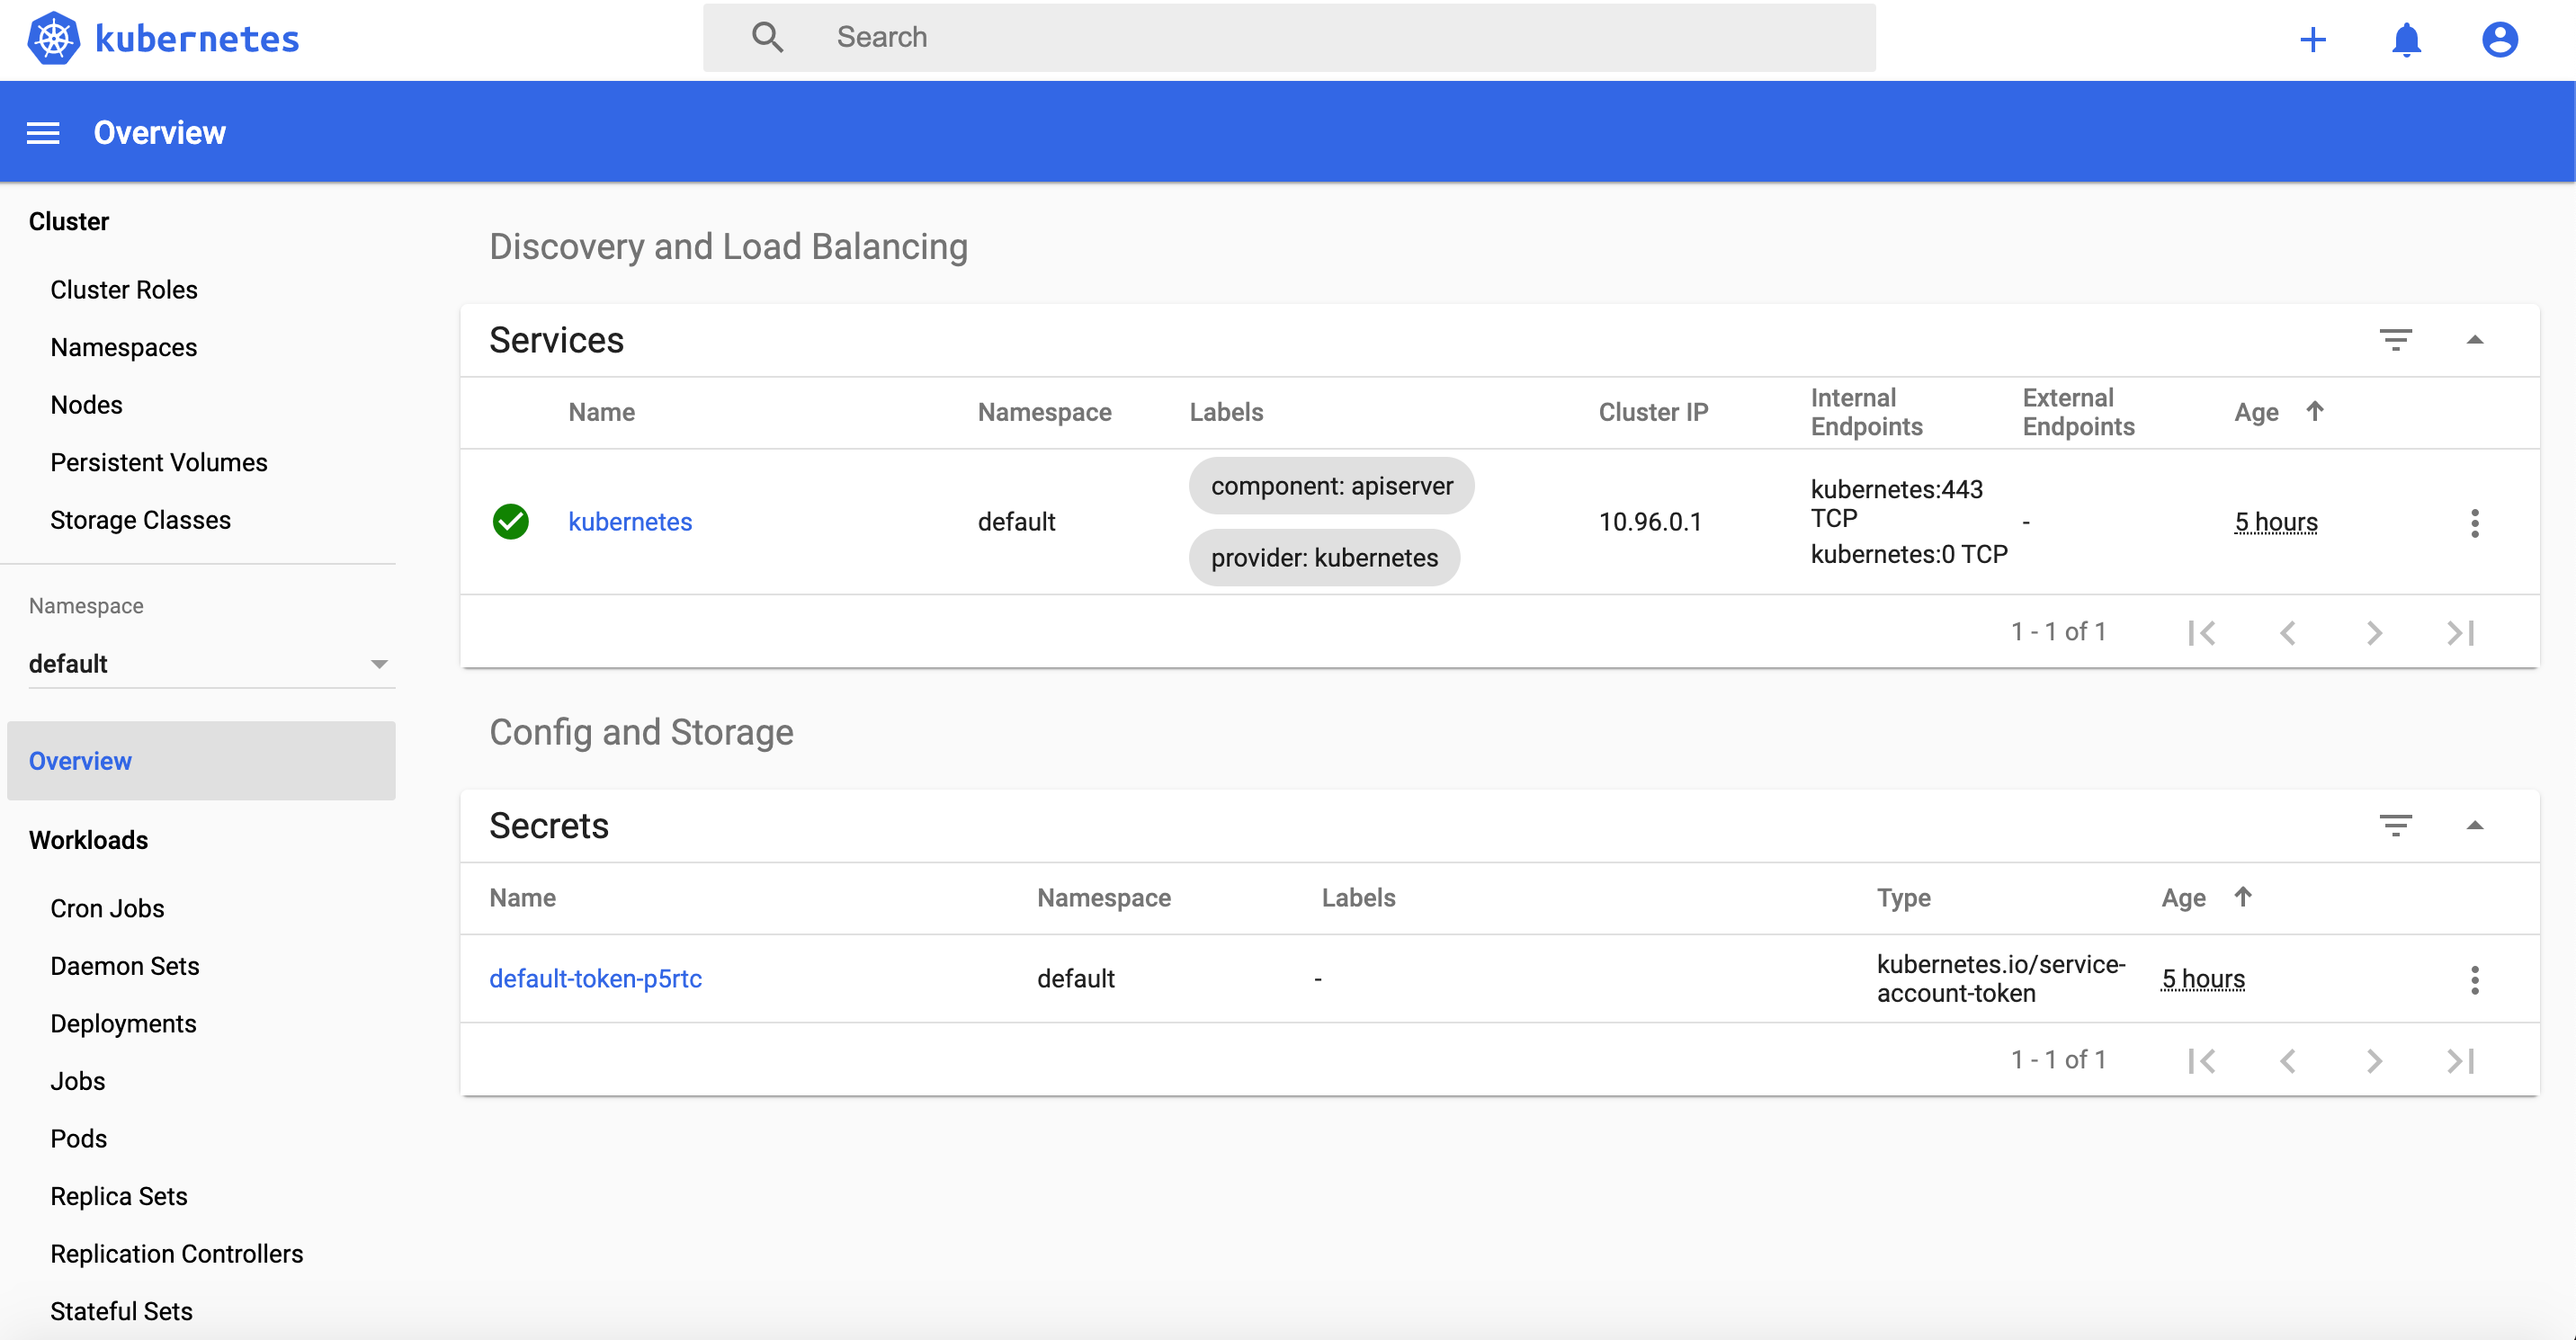
After following this steps, we can celebrate. Because we’ve successfully run Kubernetes, installed the Kube dashboard on our Mac. Now we can move to the next stage of developing a simple application to run on our local Kubernetes cluster.
2. Developing on Kubernetes
Now we’ve set up Kubernetes locally, how do we deploy our source. We can start of by running a simple nginx server. But before we deploy, let’s look at some objects in Kubernetes and what they mean.
Pods : A Pod is the Kubernetes object that represents a group of one or more containers. The smallest deployable object in the Kubernetes object model.
ReplicaSets : A ReplicaSet is responsible for a group of identical Pods, or replicas. If there are too few (or too many) Pods, compared to the specification, the ReplicaSet controller will start (or stop) some Pods to rectify the situation.
Service : A way to expose a set of pods as a network service to be easily accessible.
Deployments : Deployment objects records information about the container image and whatever else it needs to know to start and run the container.
There are more but this is just about what we need to deploy our first application. Let’s create a deployment called demo-nginx with this:
kubectl create deployment demo-nginx --image=nginx
The --image options specifies the image we want to deploy in the pod. Once this completed let’s verify our deployments and pod with kubectl. Using
kubectl describe deployments demo-nginx
kubectl describe pod demo-nginx
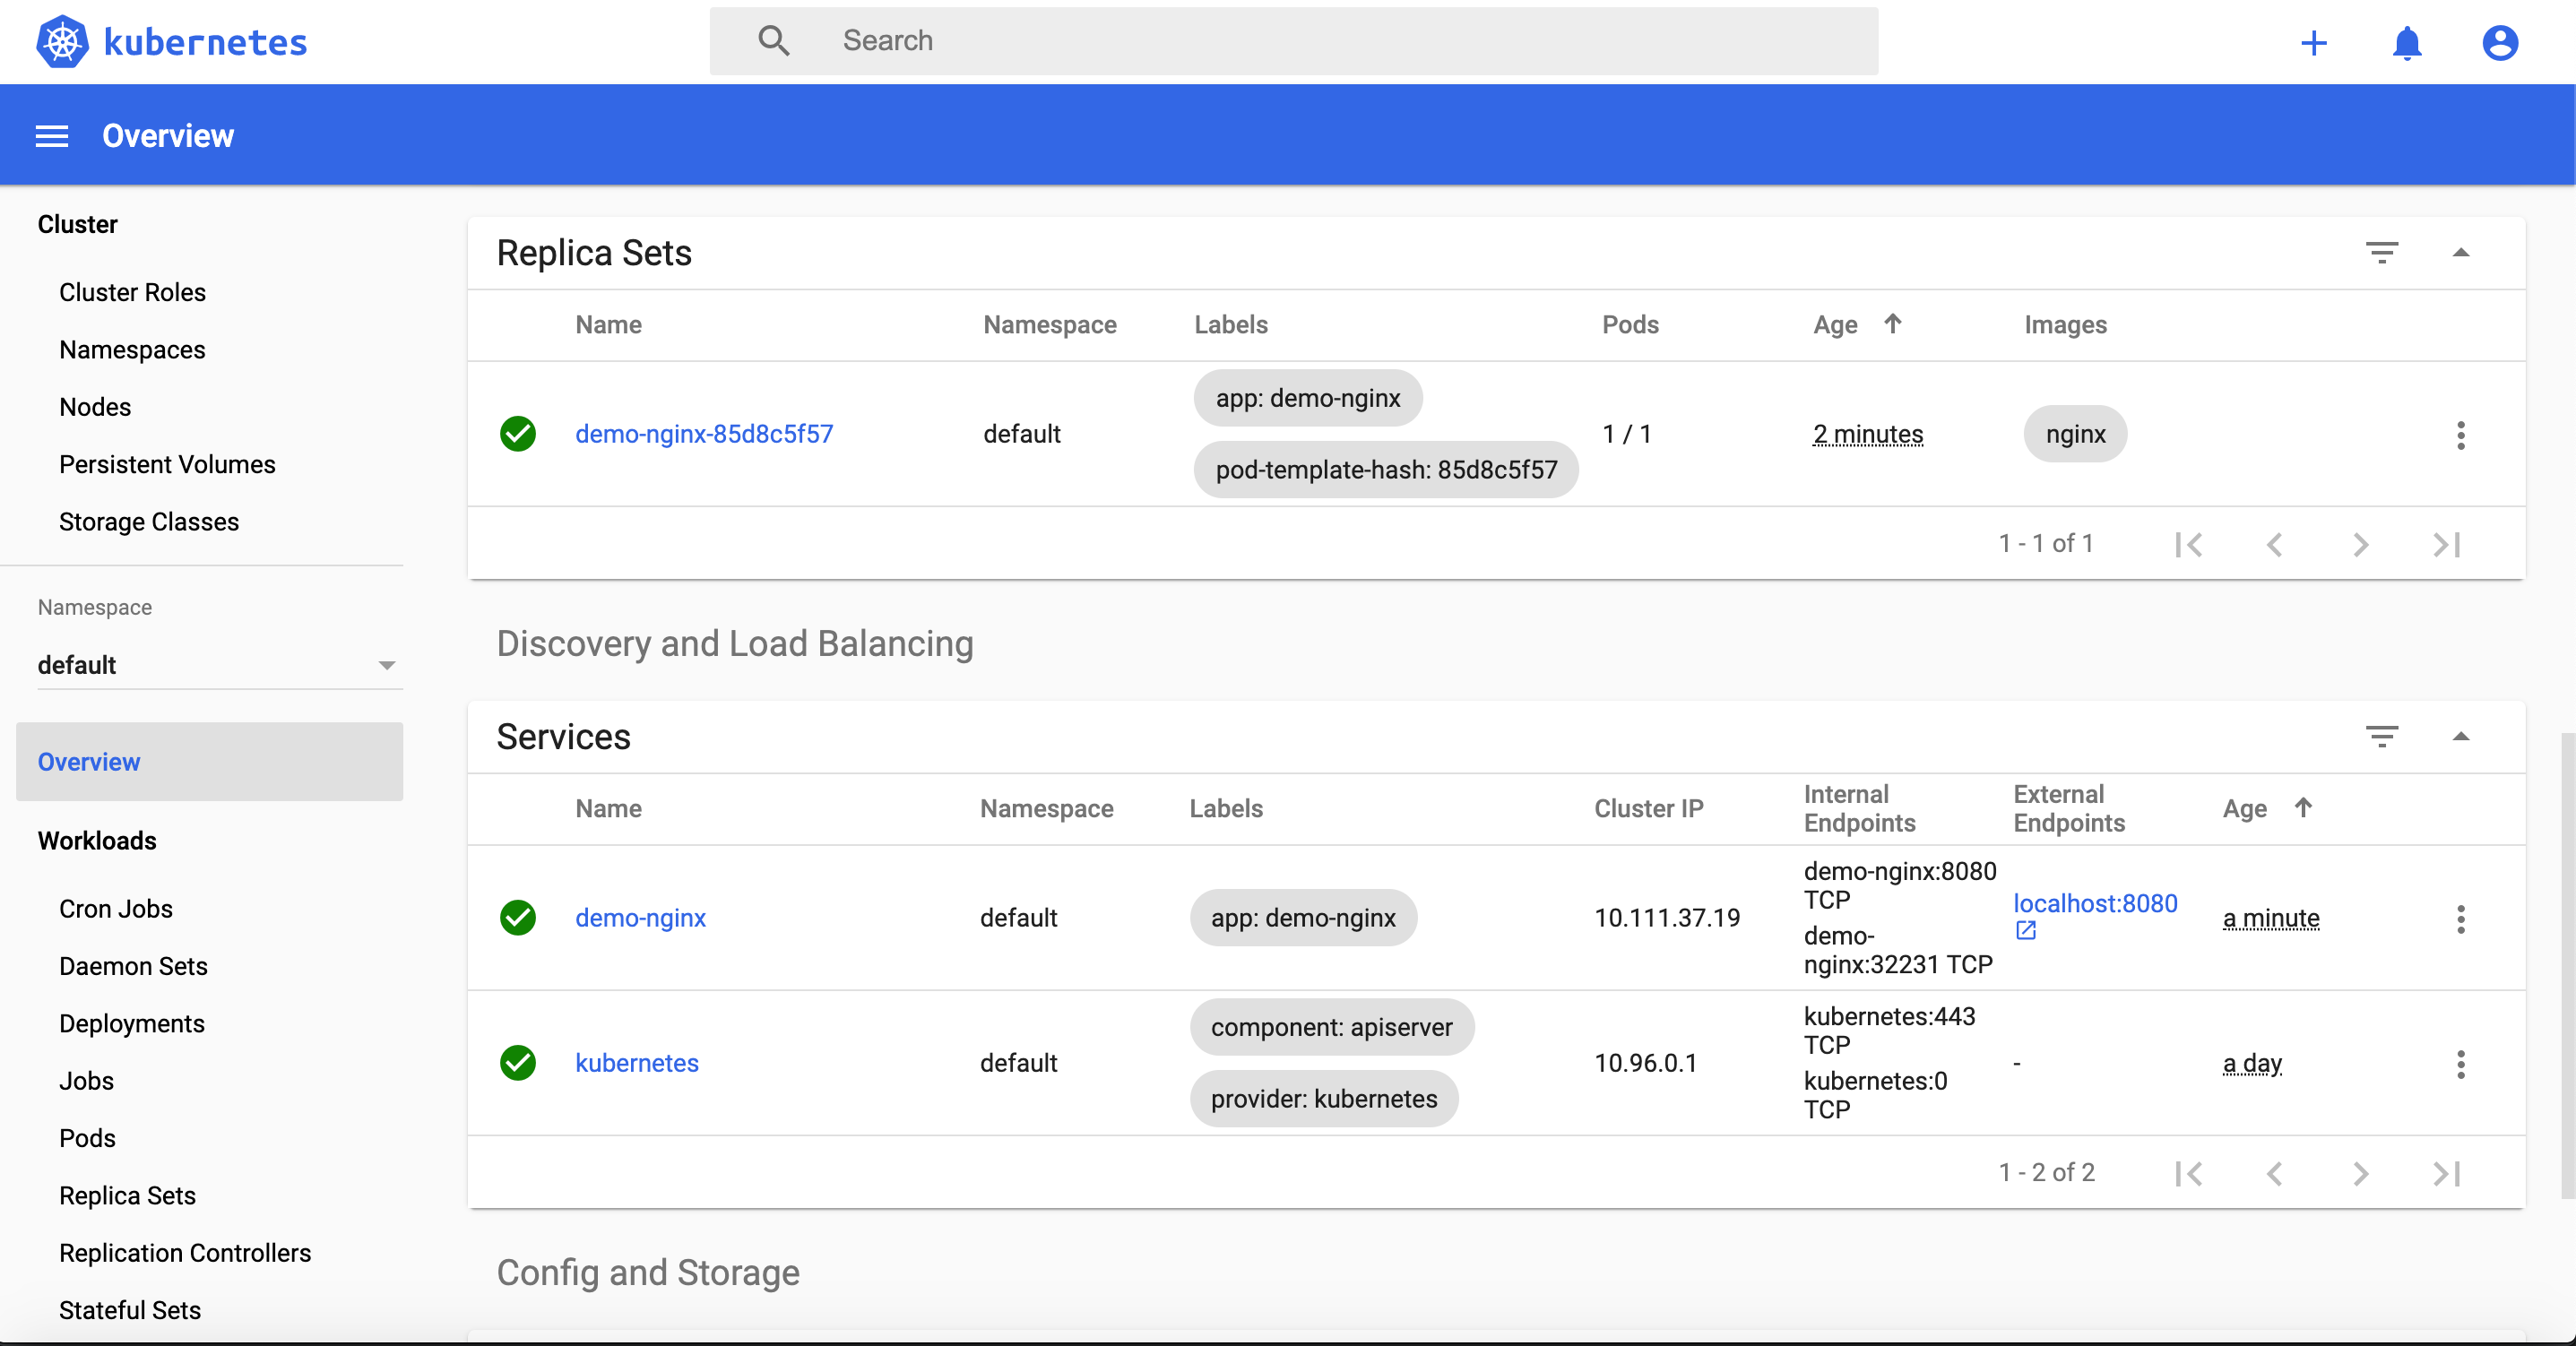
Do note that we can also do this from the dashboard by just navigating pretty straightforward and simple Web UI.
Now how de we access nginx, we’ll need to expose our deployment with a service resource using the LoadBalancer type to help us access it. We know that the default port for nginx is 80, so we just need to port-forward the to port 80.
kubectl expose deployment demo-nginx --type=LoadBalancer --name=demo-nginx --port=8080 --target-port=80.
We can verify and confirm is nginx is accessible on port 8080. Also we can describe the services with kubectl or just visualize on the dashboard.
Next up in the series we’ll build a custom application, package with helm charts with custom services and deploy in our cluster. We’ll also learn to scale our deployments, configure observability and monitor our clusters.
REFERENCES https://kubernetes.io/docs/reference/