
Ok, this is the long overdue part two of where we left off. What are we doing today?
1
2
3
4
5
6
7
1. Give it a name

2. Components from prototype

3. Program

4. Simulation
1. Give it a name
Because its movement is modeled after a bug we (I) should call it Bug1.
2. Check prototype and pick components.
If this is not your first electronic project you probably would have identified some components in the prototype. Like the Ultrasonic Sensor and the servos. Two servos one for the front and rear legs for movement.
New to the hobby servo? What about the HC-SR04 ultrasonic sensor?
i. Front Legs with a Servo
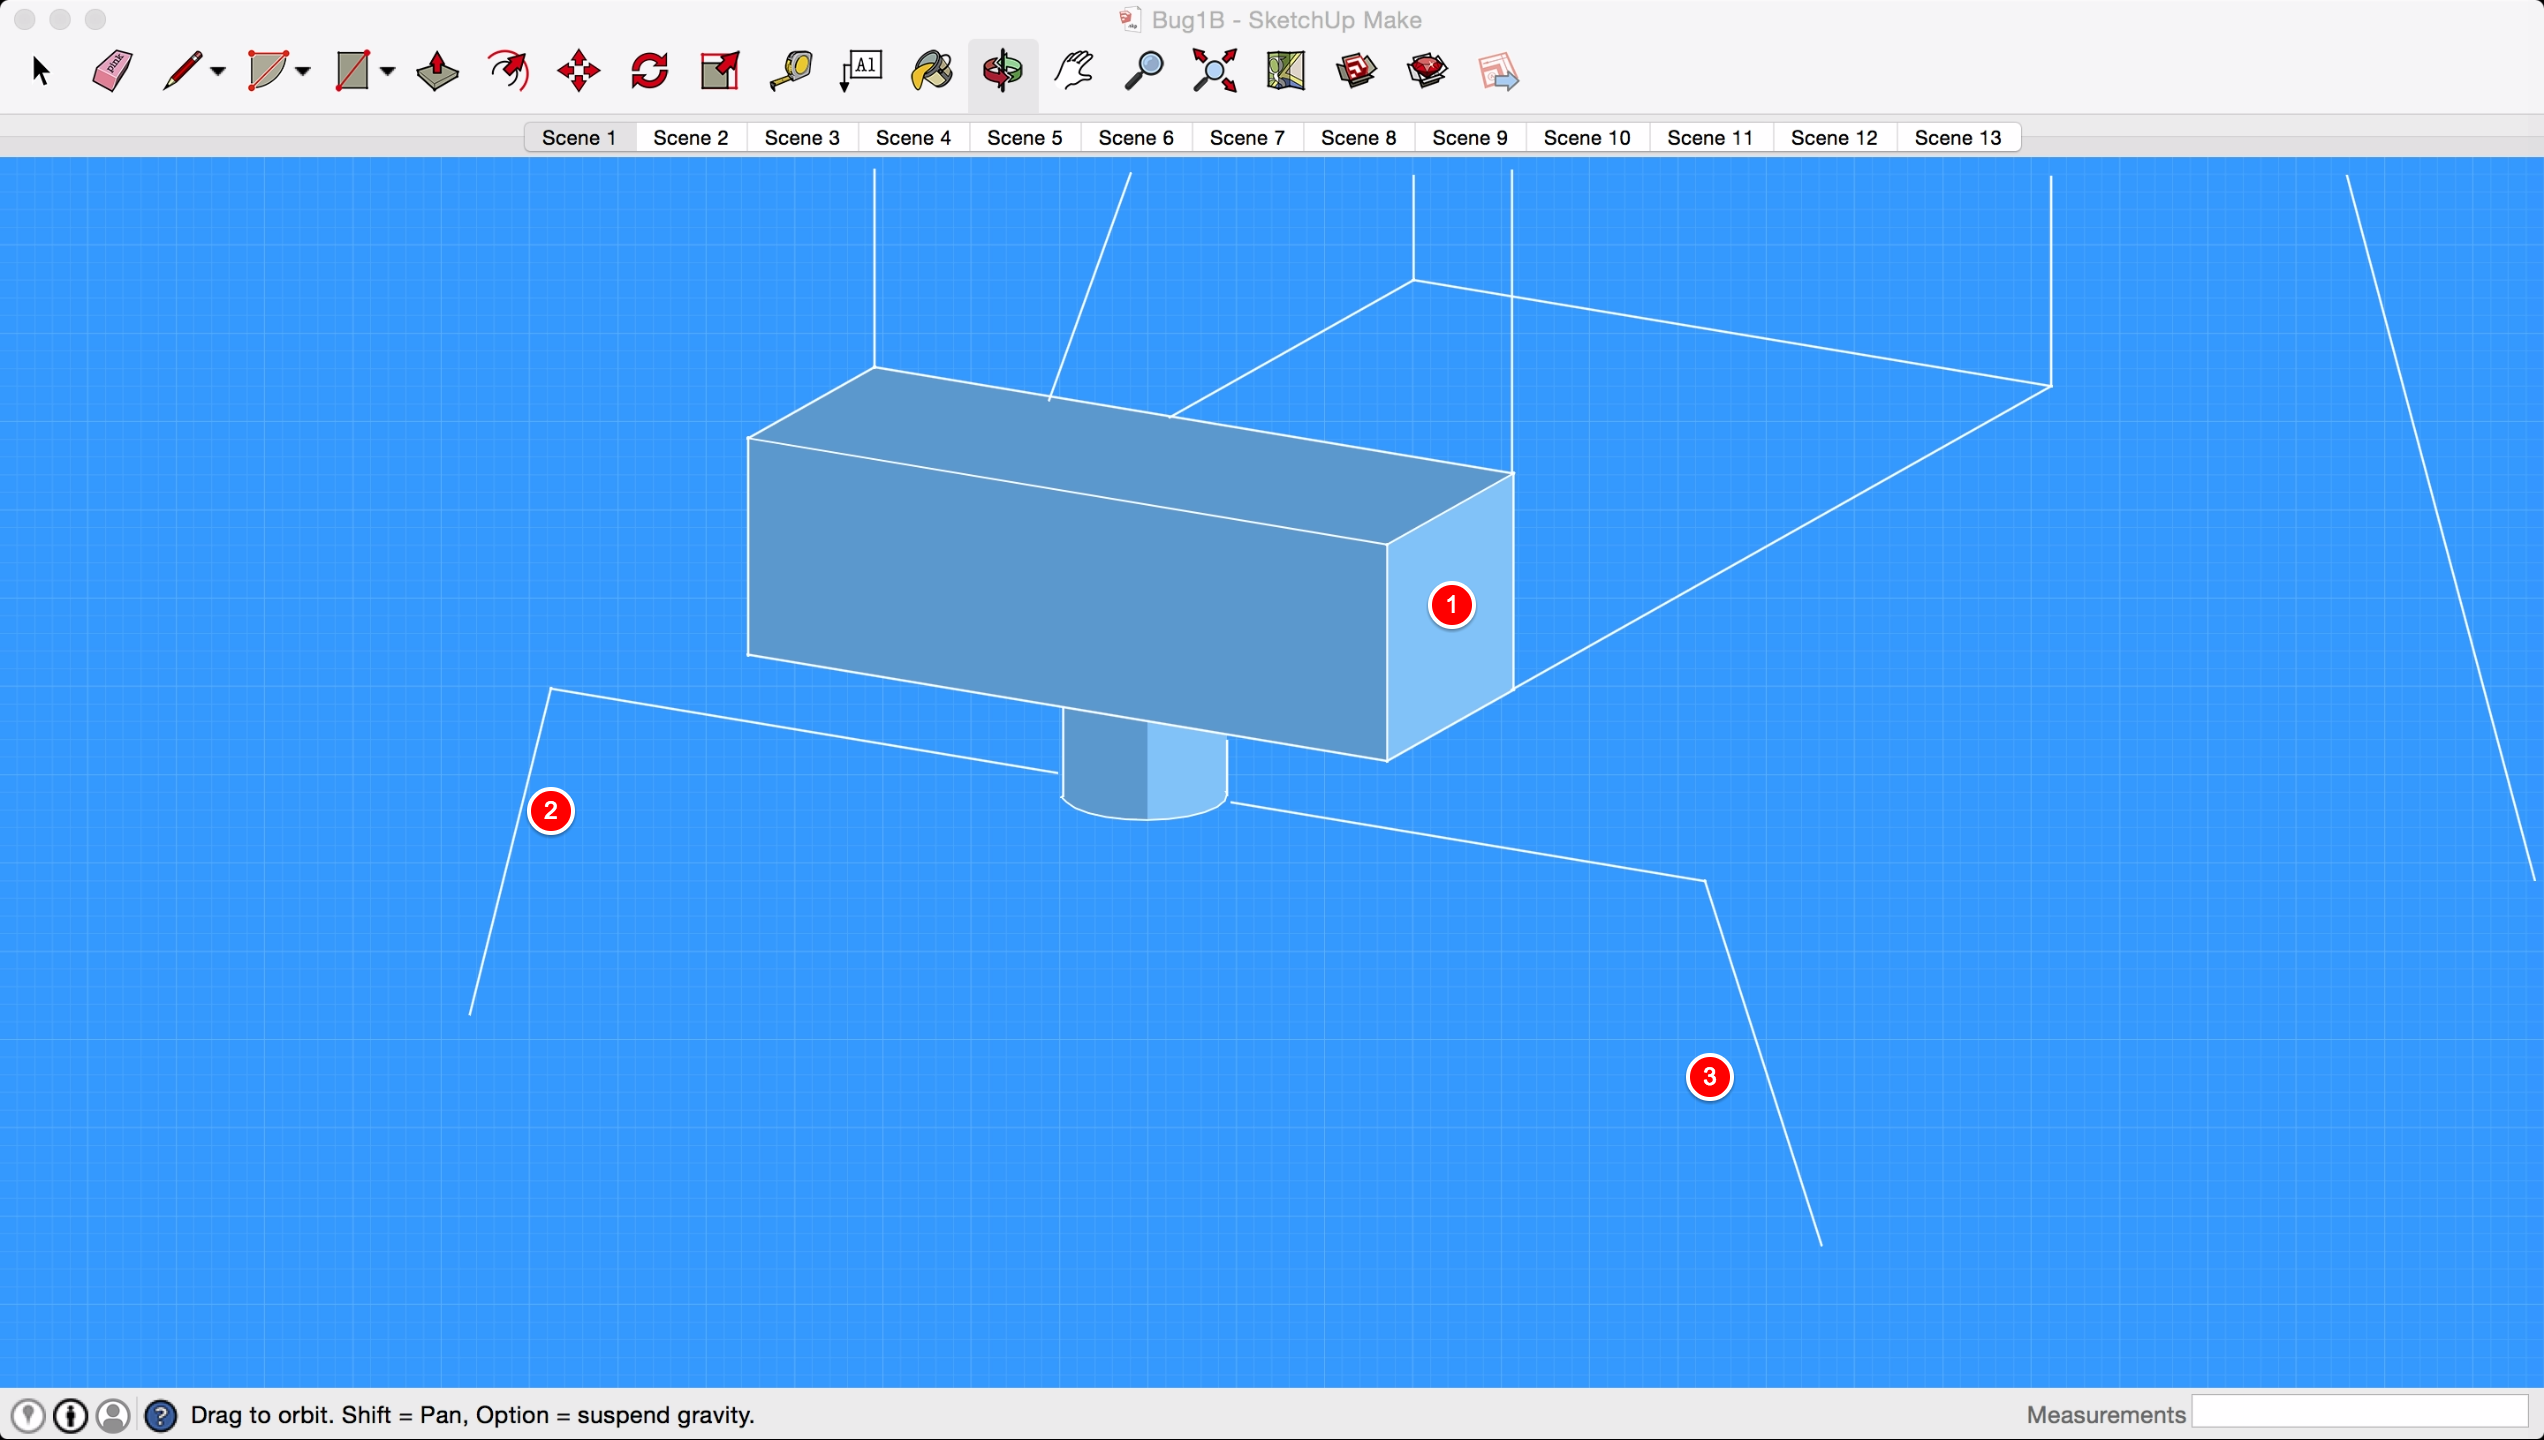
Bug1 uses two hobby servos for movement. With the arduino as the command. But the position of the two servos to give the required movement is not that straight forward.
Honestly this was what I wanted but the point of this post is to focus on the methodology not the actual project. I had to create a constant reminder of this because I kept drifting away.
From the diagram above, if the part labelled 2 (front right leg) moves forward that is 120 degrees 3 (front left leg)would be 60 degrees. The back and forth of this movement would push Bug1 forward.
This servo can be controlled to steer Bug1 as well. The front servo is mainly responsible for how Bug1 moves and where it turns.
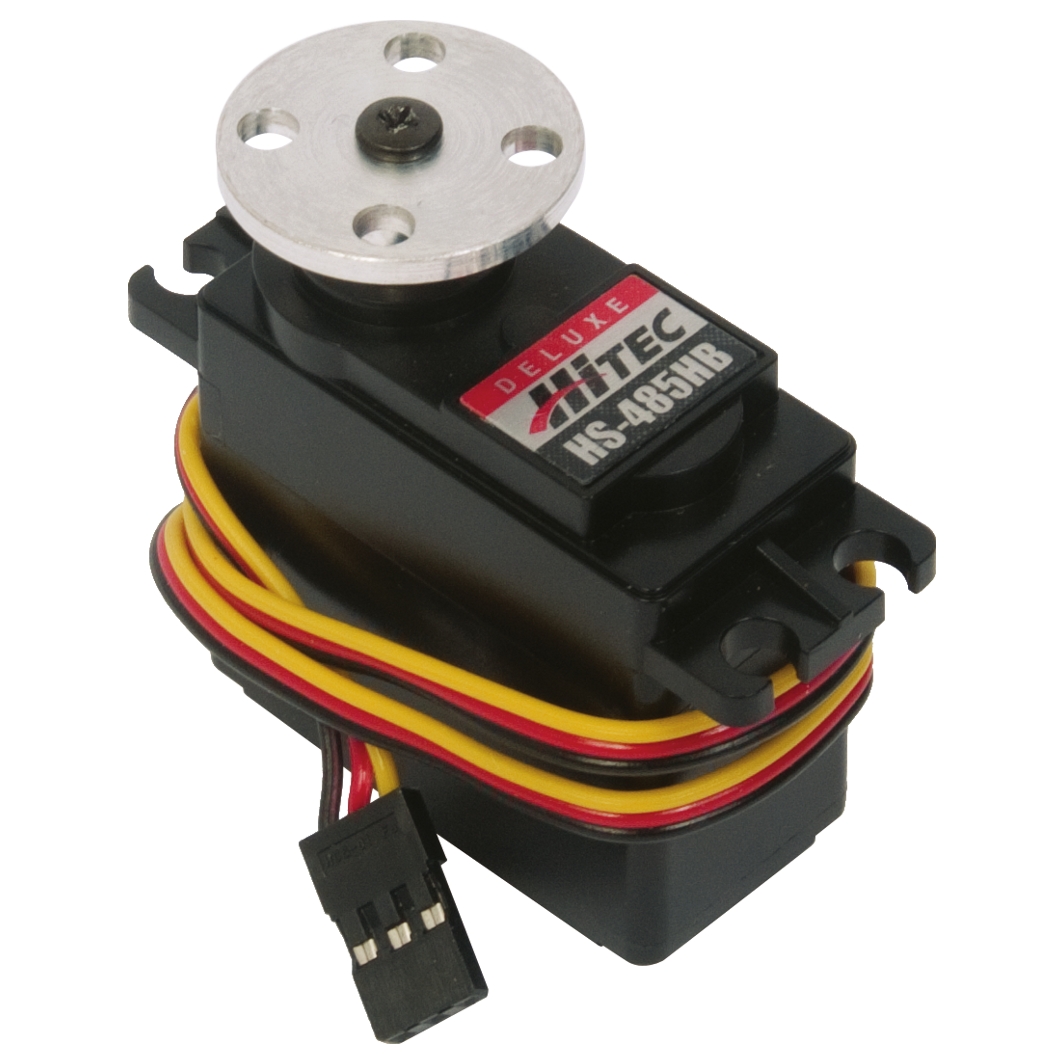
SpecificationsOperating Speed: 0.17sec / 60 degrees (4.8V no load)
Operating Speed: 0.13sec / 60 degrees (6.0V no load)
Stall torque:12kg/cm(6V)
Operation Voltage : 4.8 - 7.2 V
Temperature range: 0°C to 55°C
Power Supply: Through External Adapter
Length 300mm
ii. Rear Legs with a Servo
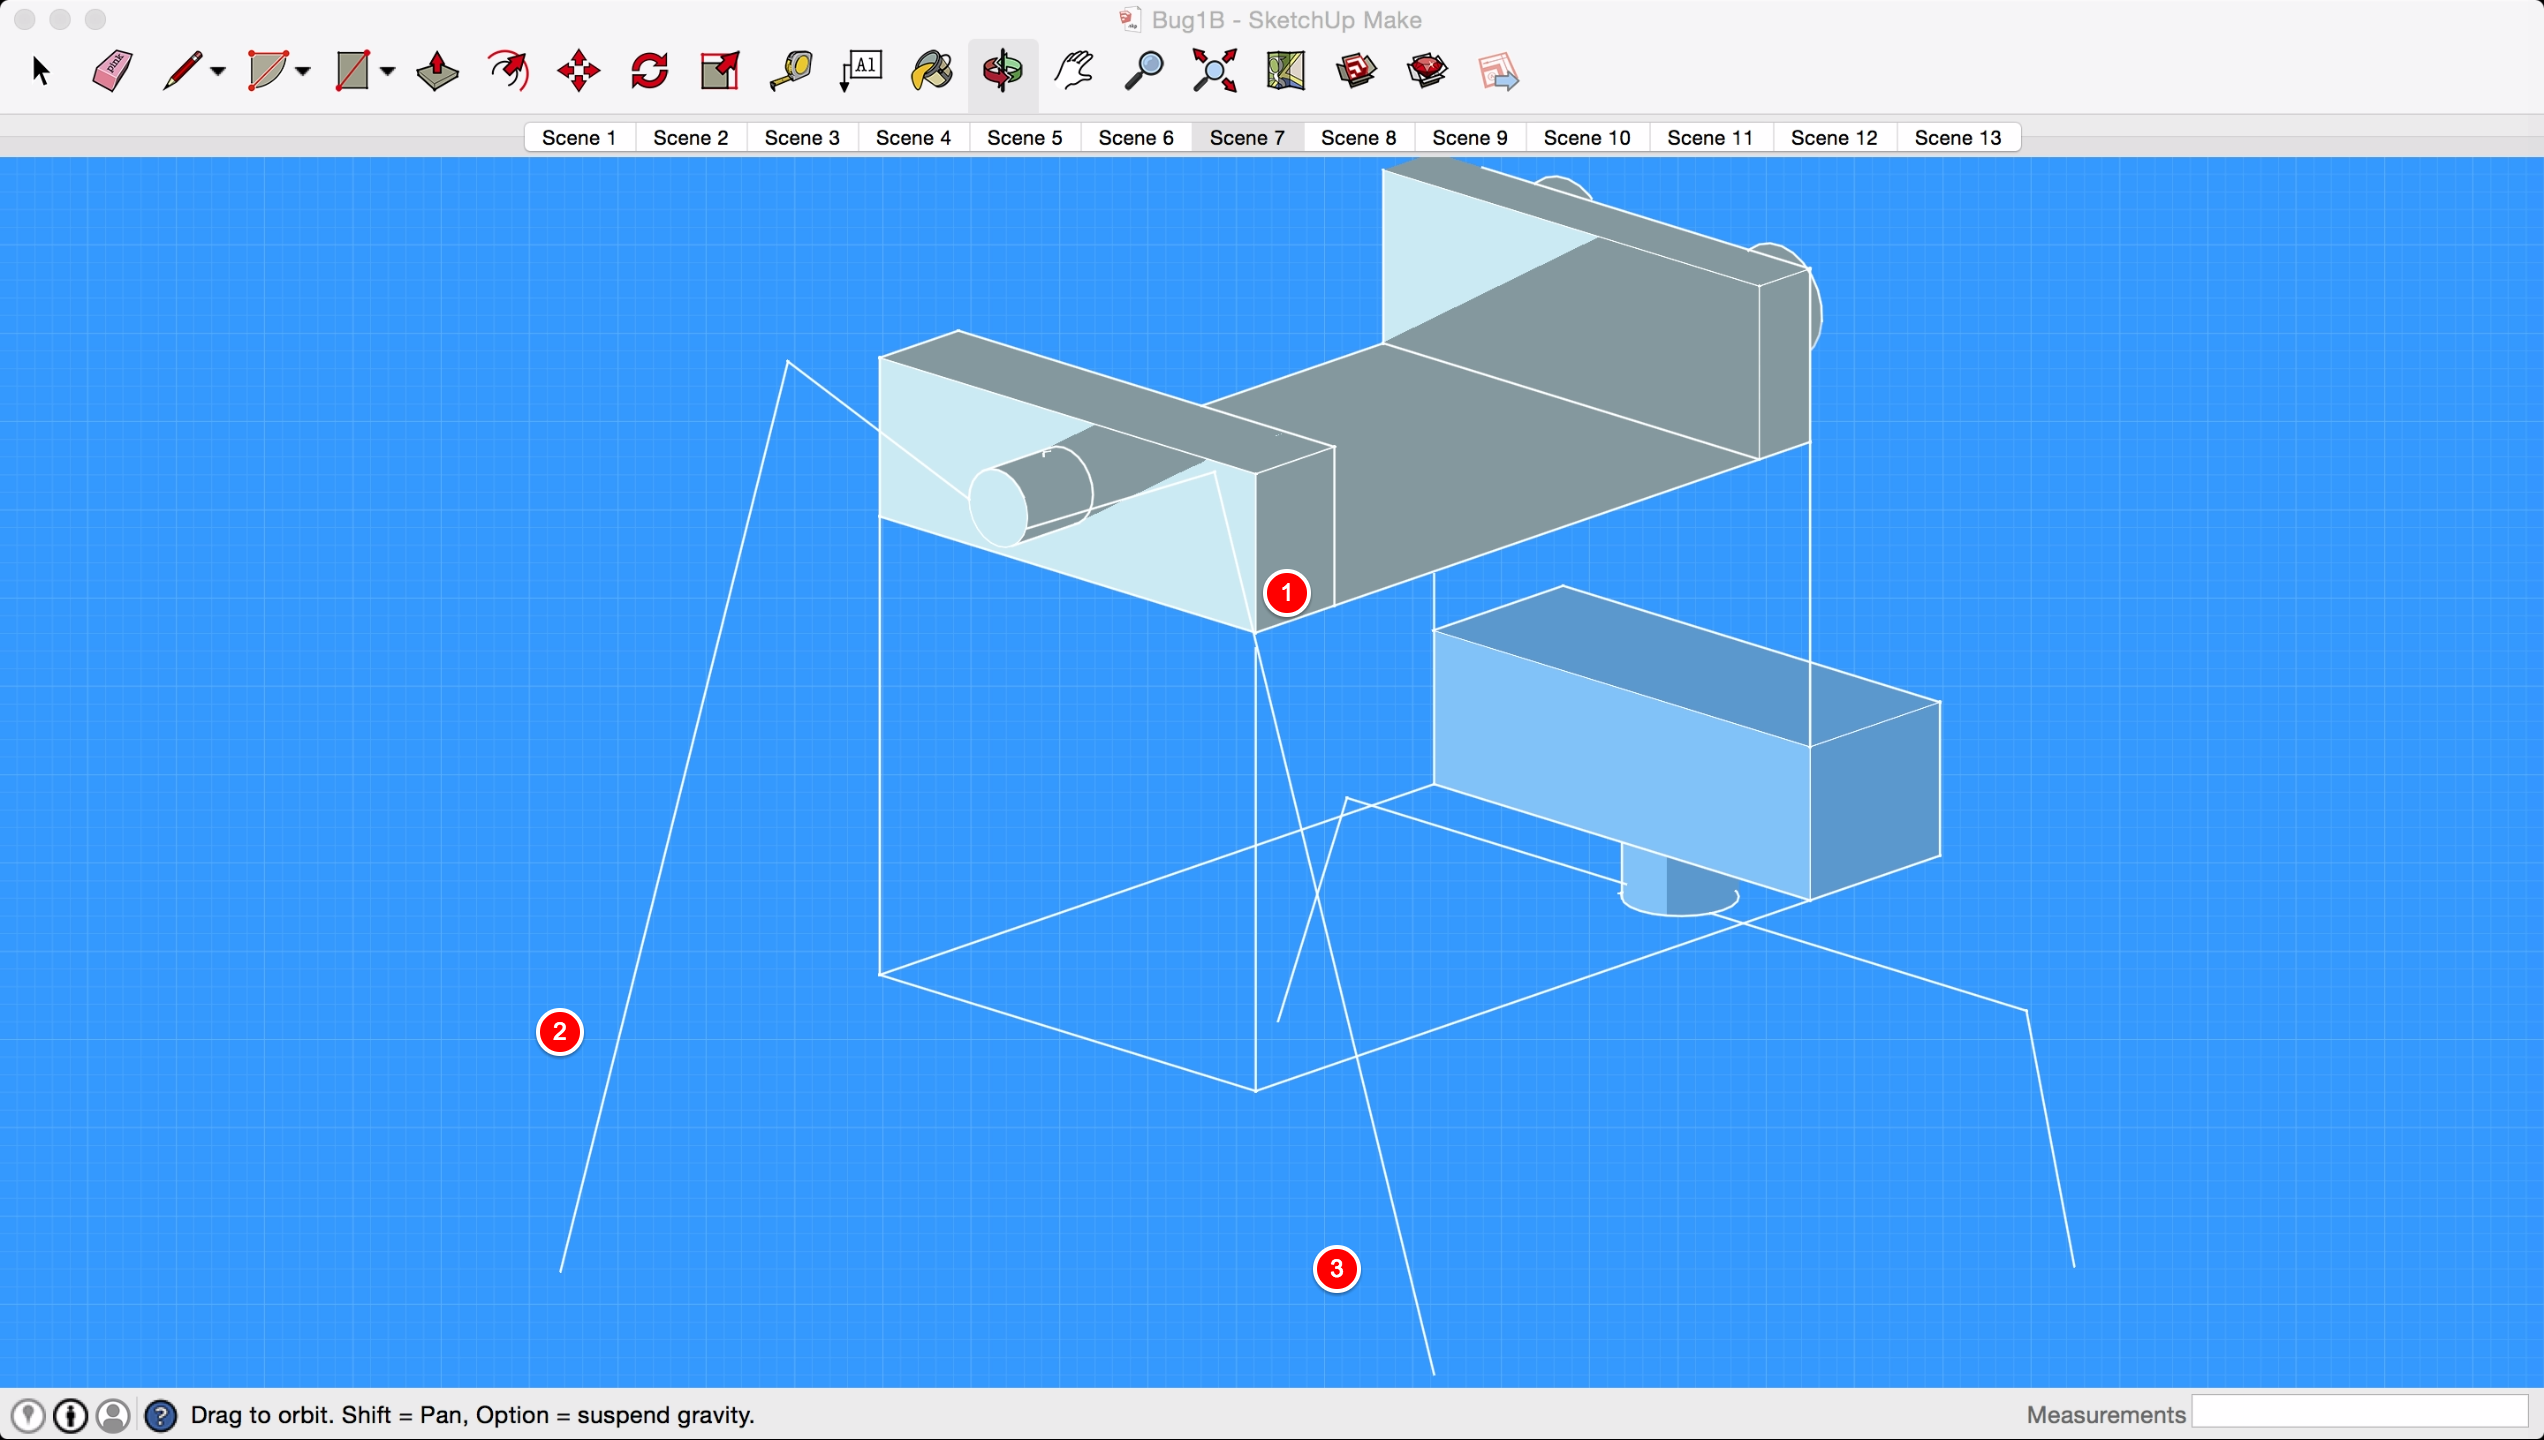
The servo controlling the rear legs is responsible for supporting Bug1. This enables it to have good composure when moving or not. Think of it as the second pair of legs designed to make Bug1 stand like a table. Its placed such that its movement is restricted to just an up and down movement.
iii. Eyes with the HC-SR04 UltraSonic Sensor

The UltraSonic sensor helps Bug1 see and sense the environment to help in the way it reacts to the environment.
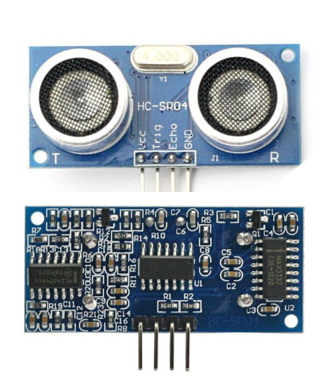
SpecificationsPower Supply :+5V DC
Working Current: 15mA
Ranging Distance : 2cm – 400 cm/1″ – 13ft
Measuring Angle: 30 degree
Trigger Input Pulse width: 10uS
Dimension: 45mm x 20mm x 15mm
It works simply by sending an ultrasound of about 40Khz and then listens for the pulse to echo back in time,t. We can calculate the distance of the object from the sensor (Bug1) as
Distance from object (m) = 340 (m/s) * t(s) / 2
Because the speed of light is approx 340 m/s at room temperature
Although not shown in our prototype this is the connection between our command center and the Bug1. We can send and recieve data from Bug1.
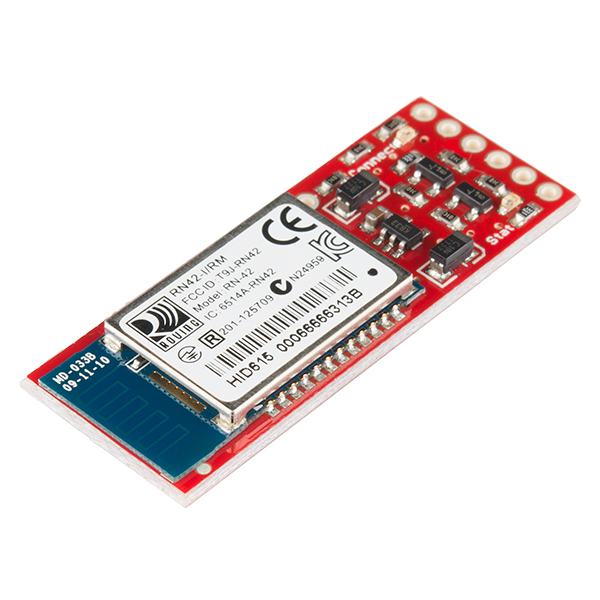
SpecificationsExtremely small radio - 0.15x0.6x1.9"
Very robust link both in integrity and transmission distance (18m)
Hardy frequency hopping scheme - operates in harsh RF environments like WiFi, 802.11g, and Zigbee
Encrypted connection
Frequency: 2.402~2.480 GHz Operating Voltage: 3.3V-6V
Serial communications: 2400-115200bps
Operating Temperature: -40 ~ +70C
Built-in antenna
Dimensions: 45mm x 16.6mm x 3.9mm
v. “Sticky” Legs
Well Bug1 has to move right?. With the help of metal bended legs we can make this happen.
vi. Arduino Uno
Bug1 needs to process.
vi. Batteries
Since we using an Arduino any 5V battery would do.
3. Program
Bug1 is programmed using C.The codes and other files for the project can be found here. But note that changes can be made to when we start building the project.
4. Simulation.
Before we jump in soldering and building Bug1 lets first run a simulation to see how our code would run. Fortunately for us there are tons of tools to run this simulation which you can find here. I chose Protues.
If you decide to also use Protues check this or just use the codes with any simulation tool.
We can safely test our codes and wiring with ease. 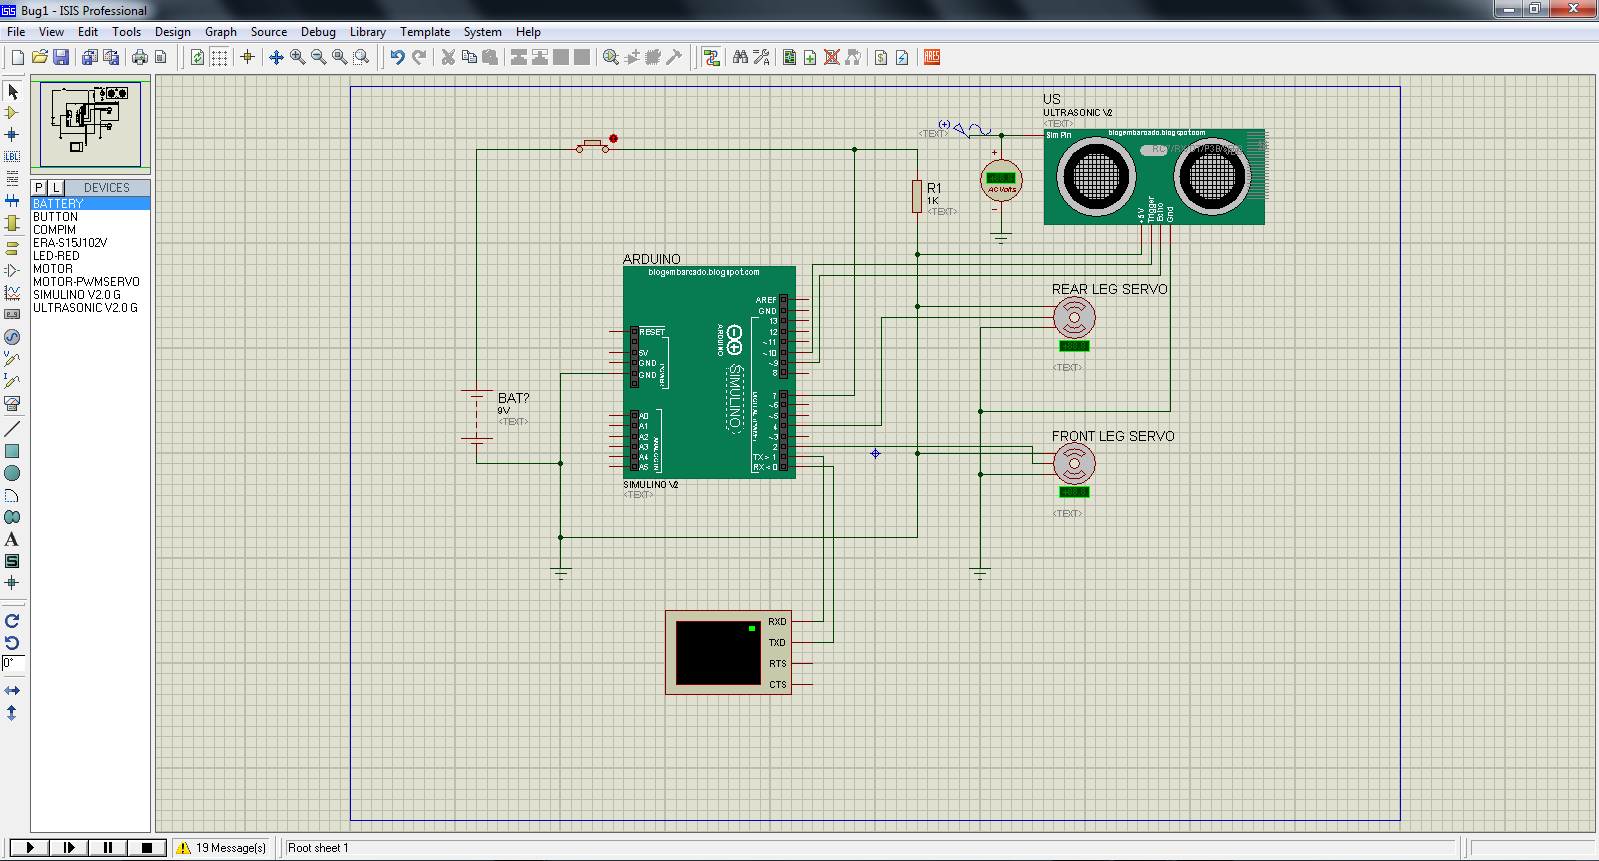
If you’ve ever used Protues you’d know that some components do not come out of the box. But you can get them online.
I’m using this Arduino - Protues and HC-SR04 Ultrasonic Sensor - Protues.
Next up we get to build Bug1.
Hopefully the components I ordered would arrive by then Simulate the serial communication and automated movement of Bug1
Check out proejct files on GitHub.